If I inspired you, I've done my job!

July 15, 2012

We are all rivers…of Life Energy


When we are born we are charged with an electric energy. In the East it is called “Prana”, further East they call it “Chi”. I did not do enough research to give it a proper name, so I will just call it “Life Energy”. Think of it as a video game’s Life—we have this one life and we must use it wisely to make it last. Once it’s over, a person passes away of natural causes. If a person is murdered or dies abruptly in an accident, his Life forces dwindles slowly—much slower than in this dimension—in the other dimension as a heap of energy or better known as ghost.

The magic of this dimension we live is in the exchange of Life Energy between all beings. This force is the core in our social relationship with each other.

The trick is that this energy is dynamic and it flows as many streams through this dimension. When you give it, you make room for more to receive. This is, I believe, the saying “The more you give the more you receive” comes from.

So to keep this Life Energy in running you must give and receive. To give is as simple as make someone else happy, smile or do a good deed without expecting any compensation.
What happens when you don’t receive enough? That means individuals that love to collect Energy without sharing it surround you.

Consequently, these people accumulate so much of Life Energy that the flow clogs. But the more they get, the stronger their need to receive… not realizing there’s no room for it. So they suffer, they pity themselves; they crave attention from others and do anything to get it.

All they have to do to let go of some of the Life Energy they’ve collected and see how new batch flows in. For this is how life is—a constantly moving current of energy; don’t be a stumbling block… give it away!
Image Courtesy: http://www.flickr.com/photos/12150532@N04/
◊◊◊
We are all rivers—
Some of us run fast,
Others run slow.
Some of us run straight,
Others bend or bow.
But in the ocean
We all flow…

March 19, 2012

Playing Tag With Time & Fa-va-falafel Balls

What a beautiful weekend it was. Weather was unusually warm but much welcomed and appreciated. Everything seemed to pick up its pace. The Robins had arrived and were scavenging for early inch worms and communicating with each other in their melodic language. The buds started to look engorged and about to burst with new life. Even the Pussy Willow let out its shining silver paws. All were awakening. Time too soon?

I just can't seem to catch up with time. It's as if we were playing tag with it, running on a circle. As soon as I finish something and try to catch my breath, I feel the time's sly smirk on my back: I'm going to tag you now! I lost count of the laps it has ahead of me, and I think at this point I should exit the game. I am not a quitter, just trying to catch my breath…

Thus I'm a little late for a Meatless Monday then planned—and you will see why—I am still going to post this recipe today.

One of the questions from last's week Food Revolution's Twitter Party has stuck in my head. What would you grow if you can only grow one vegetable? My answer: beans. Just look at this amazing family of sprouts: there are so many varieties, they are growing almost in any climate and most of all, you can harvest them green or fully grown. Magic beans…

[I'm sure many have heard aforementioned words from me many times as I defend my vegetarian eating habits]

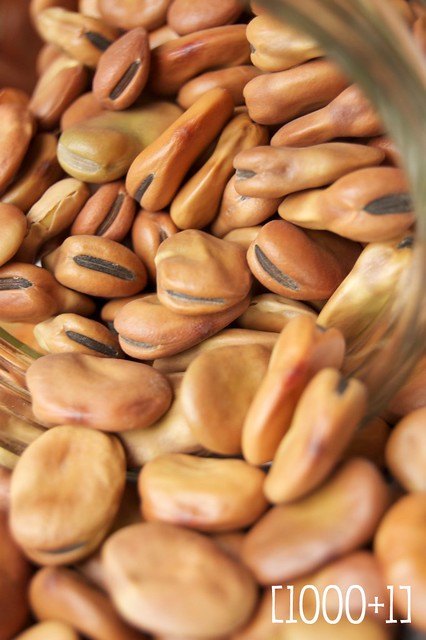
Today's magician: Fava Bean. Or Broad Beans, if you like. This miniature potato-looking-like variety usually grows in warm climate and is very popular in North African, Middle Eastern and Mediterranean cuisines. In Europe it has been served as a first spring vegetable when harvested in a pod, which becomes uneatable as it matures.
Full of vitamins, essential elements as its legumes cousins, this lumpish bean has one problem: it needs a lot of attention when preparing. May be that's why it is widely replaced with its more outgoing family members.
That's why I regret not posting the following recipe earlier, so if you decide to take a chance of Fava on Meatless Monday, you have time to give these smiley faces a proper attention.

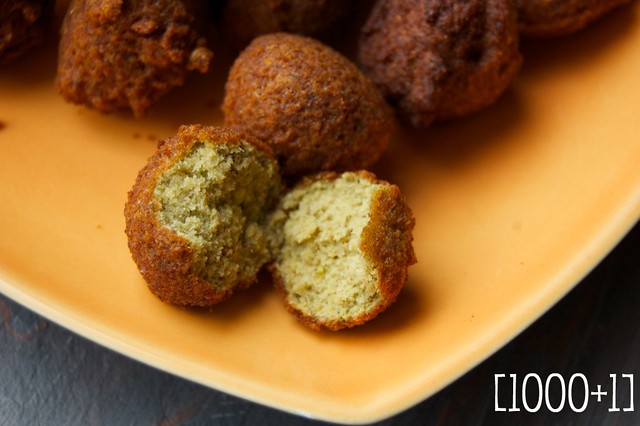
And today I'm sharing an old time FAVArite of mine: Falafel. A perfect multi-tasker dish: you can eat it as a snack, plop it in a soup, toss with a salad or simply envelope it in pita for a tasty sandwich wrap. Oh, and it's a nice appetizer piece served with some creamy dip when you entertain!

You know, I like multi-taskers [by the way, it's not my term but of Mr. Alton Brown] and I used another one–a cookie scoop–to drop the batter into the hot oil. Hence, my falafels came out like balls, not like customary disks that created using a special falafel spoon [I never even seen one in person!]

Although this particular dish can be created with other beans, I prefer using fava beans. See, you need to shell each bean after soaking and believe me, this is where the size matters and the bigger the better, or the easier!
So soak your mature dry Fava overnight and let's begin. [Good news: you don't have to cook the beans after soaking]. When I first made falafel, I did cook the beans and ended up with a mush instead of batter!

◊◊◊
Fava Bean Falafel Balls
Makes about 5 dozens
1 lb dry Fava beans, soaked in cold water overnight, peeled
2 t spoons coriander seeds
2 t spoons cumin seeds
2 t spoons peppercorn mélange [or just black peppercorns]
2 t spoons coarse sea salt
1 large onion, cut into chunks
3 cloves garlic, smashed
a handful of fresh cilantro, torn
1 t spoon baking soda
1 t spoon baking powder
4 T spoons rye flour [I used rye for extra flavor, you can use regular all purpose]
Vegetable oil [or any light, low heat oil for deep frying will do] about 2˝ in the frying pan
Equipment:
Food processor
Cast iron skillet
Small cookie scoop

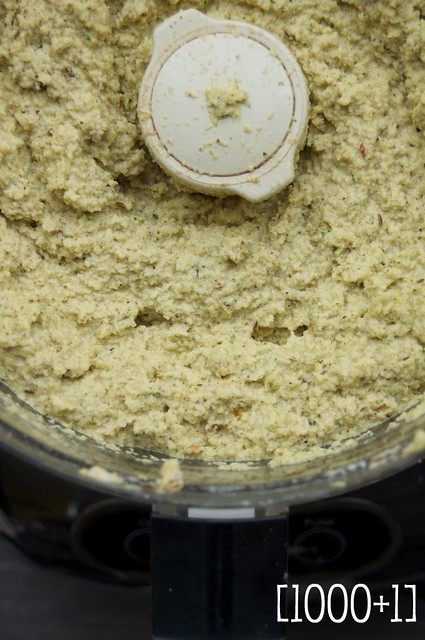
  • In a food processor combine all ingredients [-] oil and process for up to 8 minutes until it is all chopped and of even consistency;

  • Heat oil to 350° F. Scoop falafel mixture into hot oil, one at a time. Do not overcrowd the pan. [I fried 12 at a time] and fry for about 5 minutes or until falafel balls are golden brown and float up to the surface. Repeat with the rest keeping the oil temperature at 350°F;


[If you don't want to use up the whole batter at the time, cover it with an air tight container and refrigerate up to a week, or freeze it in a freezer zip lock bag for up to a month]
  • Serve warm as an appetizer with some dipping sauce [plain yogurt with some crackled pepper] or use for salads, soups,  and wrap sandwiches.

What's your magic bean?

March 05, 2012

Just a Quick Afternoon Post

The sun was shining bright this PM and I was lured to go out into my garden to start "clean up" after snowless winter but I was deceived. It was still freezing out. But I could almost feel the Spring's fresh yet timid scent. So, after few deep cleansing breaths, I went back inside.

I wasn't planing on writing or photographing a post today but the same frisky sun beam that summoned me into the cold earlier was tickling my earlobes whispering some promises… I had to put it to use.

Making hummus today for Meatless Monday sandwiches I decided to take couple of shots in this bright sunlight.

So a new little blog post was born…
◊◊◊
Toasted Sesame Seeds Hummus
makes about 6 cups

1 pack dry garbanzo beans, soaked overnight*
3/4 cup water, reserved from boiling beans
1/4 cup lemon juice (juiced from one medium sized lemon)
3 T spoons tahini (sesame paste)
4 T spoons olive oil
1 t spoon sea salt
2 garlic gloves, crushed

Garnish:
1 T spoon sesame seeds, slightly toasted on a skillet for 2-3 min
1 T spoon olive oil

  • After soaking the beans, drain and rinse them. Transfer soaked beans to the same pot (8 QT will do), pour over fresh cold water to fill 3/4 of the pot, bring to boil, lower the heat to med-high and cook for about one hour or until the beans are no longer crunchy. Once cooked, preserve 3/4 cup of the liquid and drain the rest. Let beans cool.**
  • In a food processor, combine garlic, lemon juice, tahini, salt, water, olive oil and beans. Process for 5 minutes until smooth.
  • Transfer to a bowl with lid and refrigerate for a week. Use it as a spread with pita bread and vegetables or on a sandwich.
  • To serve, spread about 1/2 cup (or a cup; although a suggested serving size is 2 T spoons, in my house we eat it by cups) on a plater making little indentations. Combine toasted sesame seeds with olive oil and pour over the hummus. You can add some freshly ground black pepper, paprika or ground cumin if you'd like…

*If you rather cut the prep time, use 2 13 oz cans of garbanzo beans and boiled water. Skip the first step.
**You can prepare beans a day before and store it in the fridge, but no longer than 2 days.

Oh, and the promise from the sun beam was that the Spring will be here soon!

March 02, 2012

Buck—perhaps, Wheat—not really


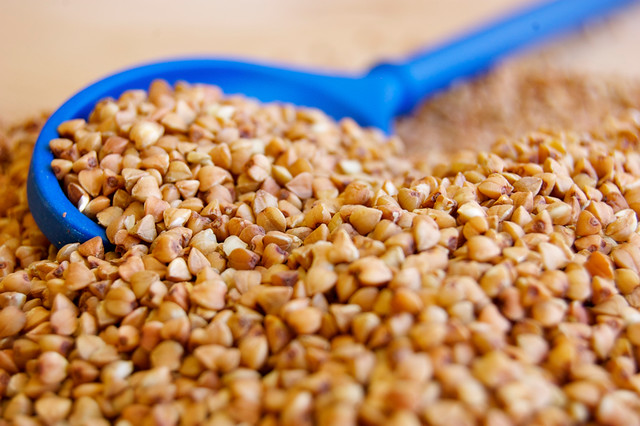
Gluten-free cereal. Sounds like an oxymoron… One might argue that there is no such thing. One who doesn’t know about buckwheat…

The fact that buckwheat is gluten-free is news to me. However, buckwheat and I go way back, to gestation trimester number 3: my mom recalls craving buckwheat and eating tons of it when she was pregnant with me. You can say I was «cooked» on it.

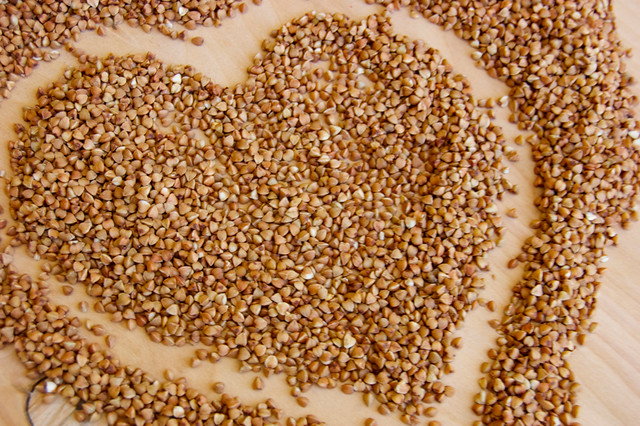
This strong tasting cereal is quite popular in Russia. Eat it in the morning with some cold milk or as a side dish, use it to stuff cabbage leaves (however, I would not recommend: no gluten=no sicking…) or make pilafs or salads. Here in USA the tiny pyramid shaped seed is not so popular and mostly known as «Kasha»—the roasted variety (Russian «kasha» means «porridge» or «cereal») or used milled into flour. I’m about to change that (I hope)!

What is this mysterious gluten-free cereal? The word «buckwheat» comes from the Anglo-Saxon words «boc» (beech) and «whoet» (wheat) because the seed resembles a small beechnut and is the same size as a wheat kernel. A clever name to trick an inscient gourmand.

Another interesting fact I learned latterly is that despite its grainy name the plant is actually a fruit and the grain is but a seed. So «gluten free cereal» is not an oxymoron after all! I still can’t wrap my brain around this discovery, but it doesn’t make me like my kasha less.

I always knew, although not from my own experience (yet), that buckwheat is very easy to grow. And that makes me wonder why isn’t it popular! Another property that should make this robust tasting ingredient famous in busy households is that it is very easy—and fast in preparation.

The benefits of buckwheat include but not limited to plant based protein and a substantial amount of fiber. That along should make buckwheat a star in every day vegetarian cooking! In addition, it contains all essential amino acids and B vitamins. Including buckwheat to your diet can help you manage high blood pressure and sugar levels if this is an area of improvement for you… To sum up—it is perfect all around (do I sound overly partial?)


But enough of the scientific talk. What you really need to know is where to find it. Buckwheat is sold in special Russian stores as well as in your supermarket most likely placed in an international or ethnic food isle. I find it with Jewish/Kosher foods.

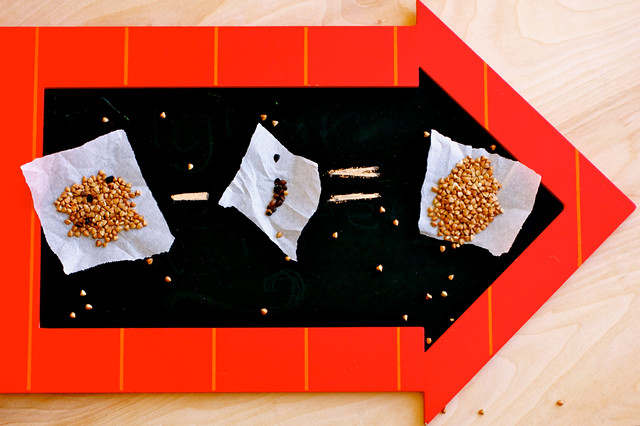
Before you cook buckwheat you might want to pick little black seeds out. There might not be much, but they do ruin presentation (and crackle on your teeth)
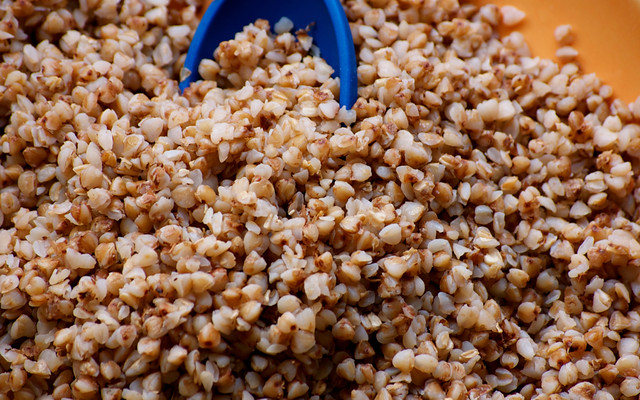
Now take one measure of dry buckwheat and two measures of water. If you want, you can toast it before, but most likely it is sold toasted. Now put the buckwheat and water in a sauce pan, bring to boil, add a pinch of salt and let simmer on a medium heat for 20 minutes or until all the water evaporates.

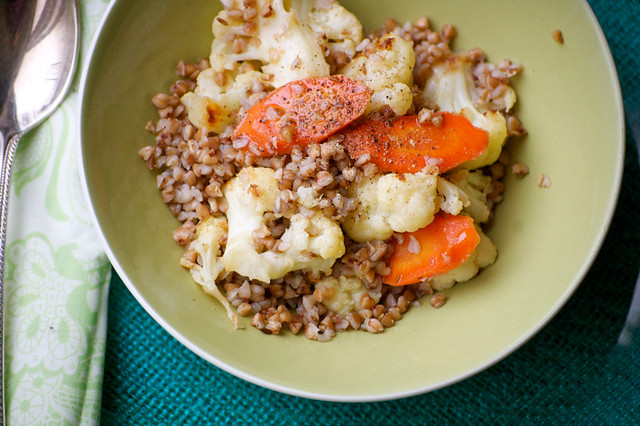
You can cool and store cooked buckwheat for couple of days in a fridge. I used it for this warm salad.

◊◊◊
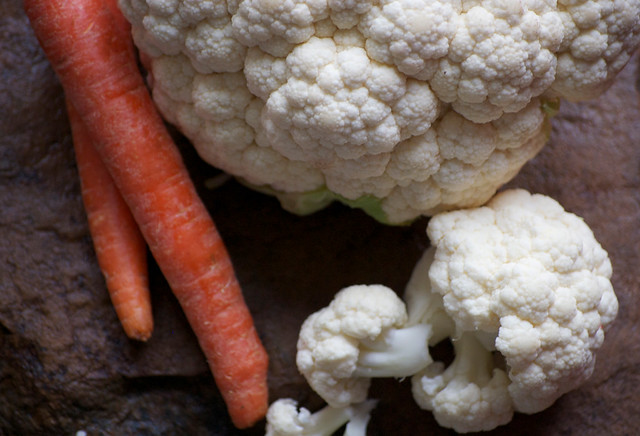
Buckwheat and Roasted Cauliflower Warm Salad
Serves 4 to 6
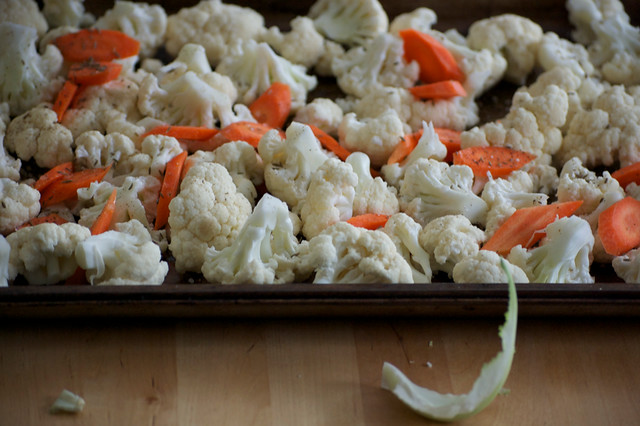
1 medium cauliflower, cut to florets
2 medium carrots, peeled and sliced on bias about 1/8˝ thick
1/2 t spoon cumin seeds
1/2 t spoon coarse sea salt +a dash
2 T spoons olive oil +1 T spoon
1 cup dried buckwheat
2 cups water
Freshly ground black pepper to taste

  • Preheat oven to 400° F
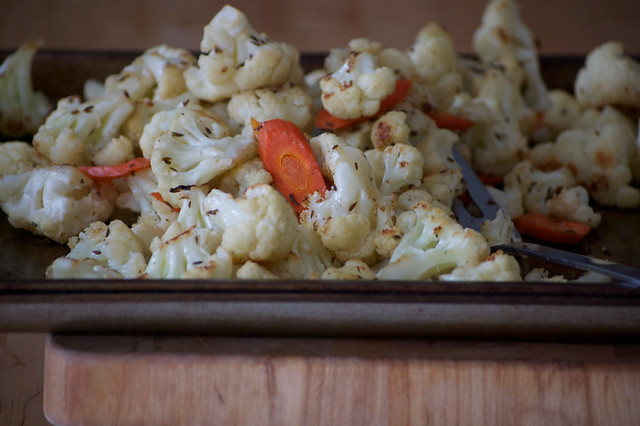
  • On a cookie sheet, arrange cauliflower florets and carrots, sprinkle with cumin seeds, salt and olive oil, toss and roast for 20–25 minutes
  • While cauliflower is in the oven, in a saucepan combine buckwheat and water, bring to boil, add salt, cover and cook on medium heat until all the water is evaporated for 20 minutes
  • When all is cooked, combine vegetables and buckwheat together, drizzle with olive oil and sprinkle with black pepper. Enjoy while it's warm!

Go on, give buckwheat a try, you will be gluten-free you did!

January 14, 2012

They call it Burgul or Bulghur or even Bulgar—I call awesomely wholesome!


There’s a trending topic on foodie twitter scene—to eat one new food each week. I like it! And from what I see, many adventurous and not so eaters and cooks decided to try a new vegetable each week. And it’s fine. But being a “grain girls” as my culinary student cousin called me, I want to introduce to my readers, and by instance to myself, a new grain each week…

I guess I already have one post on the subject this year. My last week can be counted in for lentils, although being legumes, are closely related to grains.

Why grains? Not only because I want to differ from anyone, but also because I like to encourage myself and, if I’m lucky, my entire family, to eat as much seasonal as possible. And this time of the year, although you still might find many vegetables in the supermarket, is the season of the grain!

Furthermore, adding whole grains to your diet is a good way to get health-boosting nutrition, vitamins and minerals without splitting your budget.
Also, I have already shared some recipes with whole grains in my previous posts about Barley and Millet and today I’m introducing Bulgur.

What is this strangely named grain? Despite its scary sounding name and rather long list of spelling variations—bulghur, burghul or bulgar—it is gentle parboiled wheat, cracked into three different varieties: fine, medium or coarse. Fine and medium can be used for stuffing grape leaves or vegetables, and my favorite—coarse bulgur—can be cooked into a wholesome pilaf. Bulgur is vastly used in Turkish and Middle Eastern cuisine—you most likely tried it in a salad, called Tabouleh and is considered a Whole Grain on this side of the pond.

It is also known as an ancient "instant" cereal. Because it's parboiled—that makes it partially cooked, the preparation time is half of its lookalike—cracked wheat. So, next time you want to switch up that rice-o-roni side dish routine, or swap your morning cereal, consider Bulgur for its awesome wholesome nutty taste, chewy texture and easy cooking.

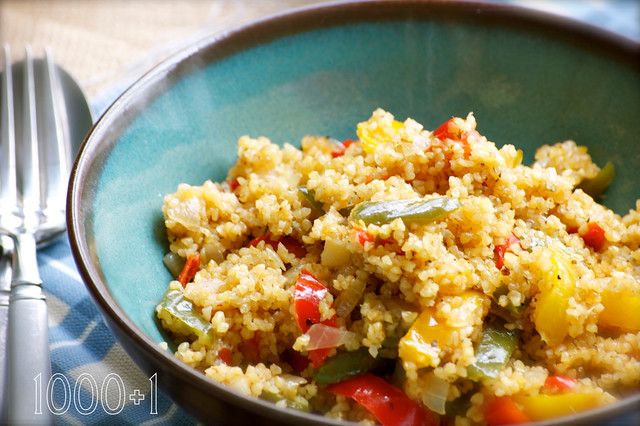
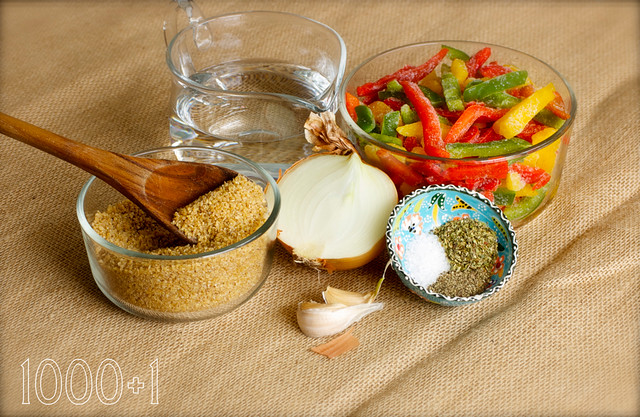
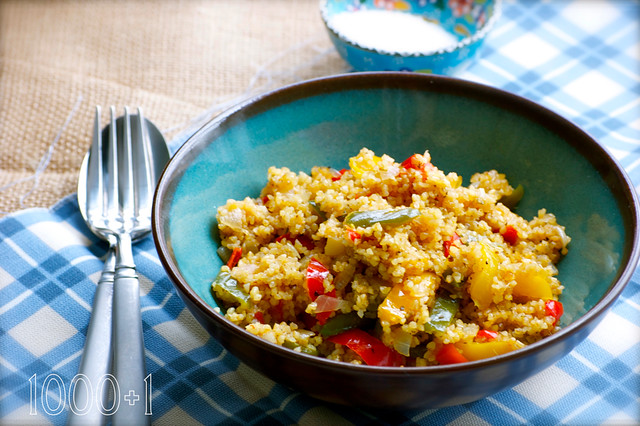
I’m sharing a side dish made with frozen mixed bell peppers that is very easy and fast to prepare. The peppers add color and sweet flavor to this dish making it a perfect companion for almost any protein on your plate. I used dried oregano this time, but you can add any dried herbs of your choice. You can even garnish it with some fresh herbs. If you would like to use fresh peppers, please add an extra ½ cup of liquid to the recipe…

◊◊◊
Bulgur and Mixed Peppers Pilaf
Serves 4


1 T spoon olive oil


1/2 large onion, diced
2 garlic gloves, crushed
1 pk (14 oz) frozen bell peppers, do not thaw
1 t spoon salt
1 t spoon ground black pepper
1 t spoon dry oregano
1 cup bulgur
1 cup water/stock
  • In a saucepan, heat oil over medium heat. Add onions and then garlic and cook for couple of minutes until onions are tender
  • Add frozen bell peppers, season with salt, pepper and oregano and let simmer over medium heat until peppers are thawed, 2 to 3 minutes
  • Add bulgur, toss it with the vegetables, pour water/stock and bring to boil over high heat
  • Lower the heat to medium, cover the pan and let simmer until all liquid is absorbed. Turn off the heat but leave the pilaf on the stove, covered for another 3 to 5 minutes
  • Fluff with fork, serve and enjoy!

January 05, 2012

New Year's Resolution & Red Lentil Soup With Roasted Tomatoes

This is my first post in the New Year. This is my first post in a while!

As we welcomed the New Year we all made our resolutions. I have made one, too. My resolution is simple: to be resolute.

I will be resolute with thoughts in my head, but listen to the words of my heart more often; resolute about the destination, but enjoying the journey; resolute about what I must acquire, but continue doing best with what I have.

I will be resolute about every little detail in my life. All 1000+1 of them!

And I will be resolute with what I do best and learning along the way hoping that these little steps, repeated every day, will keep me in the right direction.

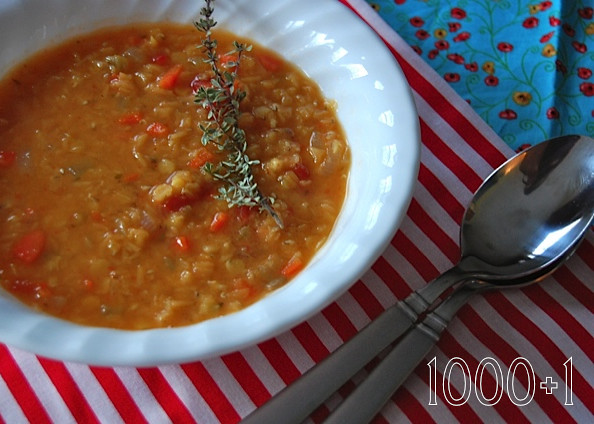
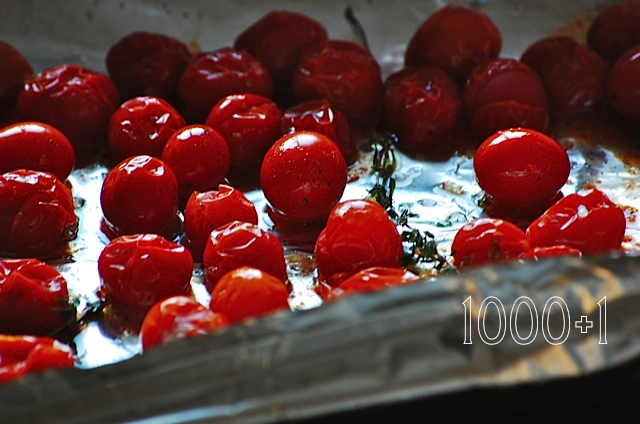
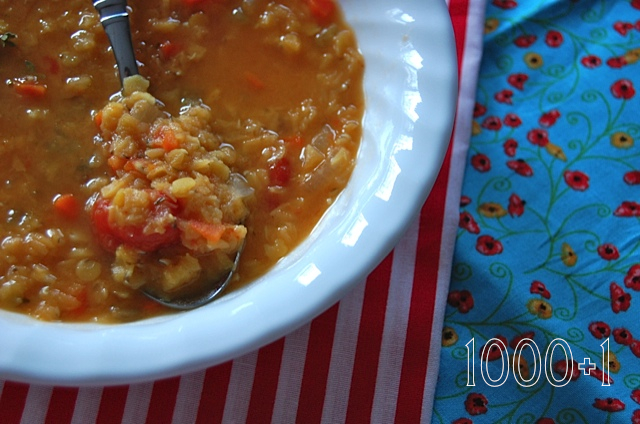
One of the things I do best (as I was told) is soup. That’s why I’m sharing this delicious soup recipe with you today. It is easy to make and perfect for a crispy-cold winter day. The only challenge here is to peal the tomatoes. You must not skip this step for tomato skin is tough and indigestible when cooked. It’s a labor of love! But if you rather skip the labor, you can use 8 oz can of diced or crushed tomatoes. Just add it the last 10-15 minutes of cooking.

◊◊◊
Red Lentil Soup with Roasted Cherry Tomatoes
Serves 8

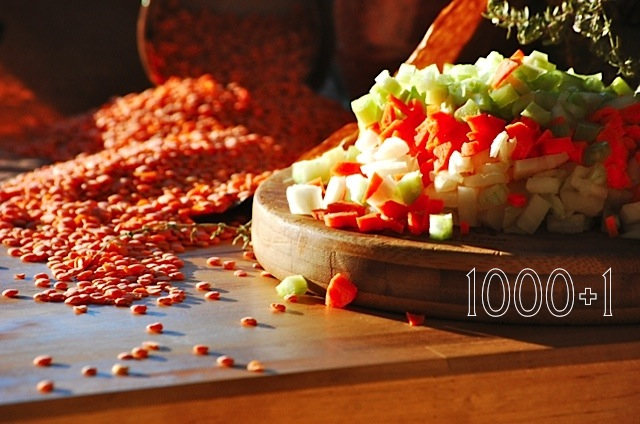
2 medium carrots, chopped
2 medium celery stalks, chopped
1 medium (1/2 large) yellow onion, diced
2 cups red lentils, washed and drained
1 T spoon tomato paste
1 pint grape tomatoes
Few sprigs of thyme, divided
8 cups water/chicken broth
3 T spoons olive oil, divided
Salt+Pepper to taste


  • Preheat the oven to 350°F; arrange washed grape tomatoes and couple of sprigs of thyme on a covered with foil cookie sheet, drizzle with olive oil and season with salt and pepper; roast for 20 minutes;
  • While tomatoes are roasting, in a large pot heat the olive oil over medium heat; add onions, carrots and celery and cook until tender. Add in tomato paste, and remaining thyme leaves (discard stems) and cook for another minute;
  • Stir in washed lentils and add water/broth, cover and bring to a boil. Reduce heat adding salt and pepper to taste and let the soup simmer for about 40 minutes or until lentils are cooked;

  • When the tomatoes are done, wrap them in the foil that was covering the cookie sheet, let cool for 5 minutes. Peal the skin from tomatoes and add them to the soup with the oil and thyme that is in the foil. Let all stand together for 5 minutes;
  • Serve with warm bread to 6-8 people.